How To Roast A Turkey
I remember my first Thanksgiving as a solo cook. My husband and I were newly wed and had just moved away from family. I was determined to cook him a perfect Thanksgiving meal. I was on the phone with my mother-in-law daily to figure out how to do this. In the end. We had a huge table of food complete with a large roasted turkey, a big bowl of mashed potatoes and gravy, some corn on the cob, enough cornbread dressing to feed an army and 2 pies. Did I mention it was just the two of us? Let’s just say still had dressing in the freezer when we moved out of our apartment 5 months later.
I learned a lot in the years past and one of the biggest things you want to get right is of course the turkey. If this is your first year roasting a bird, or you just want some tips to make it tasty and perfectly cooked, this was written for you. I put down what I do in a step-by-step fashion with plenty of pictures. Hope it’s helpful this Holiday Season.
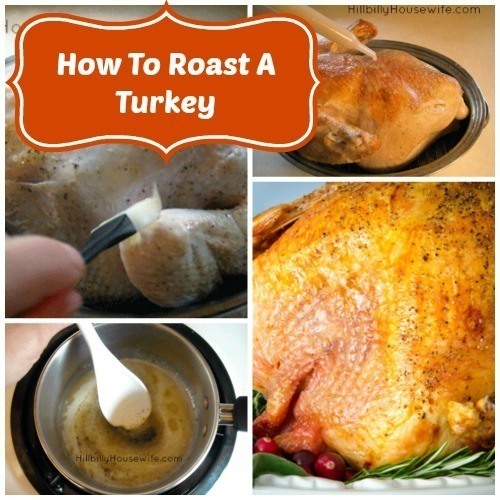
Roasting a turkey is easier than it might seem. It just takes some time, so plan your day accordingly. We used a brined turkey in this recipe, so our seasonings are very simple and we added no salt since the brine contained enough salt.
Roasted Turkey
- ¼ cup unsalted butter
- Pepper to taste
- 1 brined turkey. We are using a 12-pound turkey in our recipe.
- 1 cup water
Also, keep on hand a small saucepan, heat resistant spoon, roasting pan, pastry brush, turkey baster, foil, and utensils to flip the turkey.
IMPORTANT: Your turkey is done when it reaches an internal temperature of 165 F. You can determine doneness by purchasing and using a meat thermometer. You can expect a 12-pound turkey to take up to 4 hours to cook using this recipe, but because oven temperatures vary, always use a thermometer to ensure doneness.
Step 1: Preheat Oven
Preheat oven to 425 F
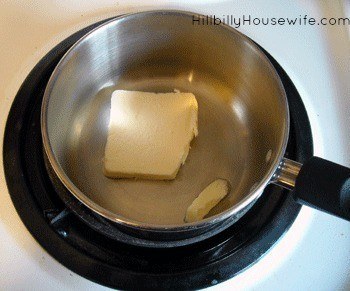
Step 2: Prepare Butter Mixture
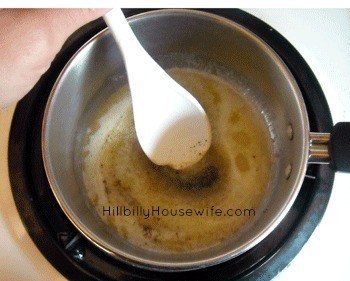
Melt the butter in saucepan over medium heat.
Turn of the heat, add the pepper and stir.
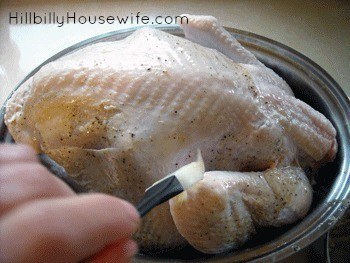
Step 3: Prepare the Turkey
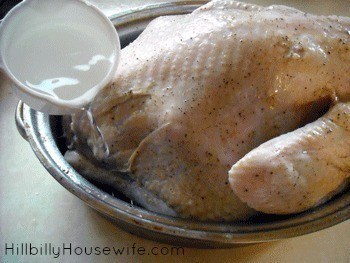
Place the turkey in a roasting pan. We start with breast side down, which is again tradition, but we do it because it allows the juices to run down into the breast meat, creating a moister turkey. We also flip our bird half way through the process, so we have a nicely browned skin on the top and bottom of the turkey.
Start by brushing your turkey with the butter mixture. Brush it all over, top and bottom, under wings…everywhere.
Add 1 cup of water to the bottom of your roasting pan to help collect juices.
Step 3: Start Roasting
Now, you can place the turkey in a 425 F oven. At this point, you don’t need to cover the turkey as we’re going to create a nicely browned skin. Bake at this temperature for about ½ hour.
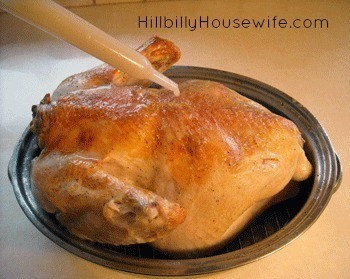
After ½ hour, remove and baste the turkey with its juices and turn the temperature down to 350 F.
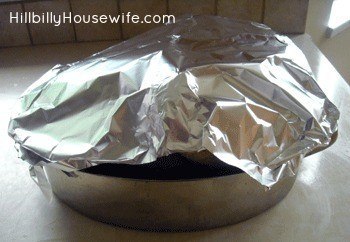
Cover lightly with foil and return the turkey to the 350 F oven.
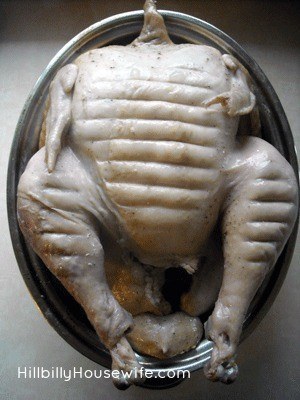
After about 2 hours, we flip the turkey. This allows for nicely browned skin all over the turkey.
Return the turkey to the oven after flipping and reinsert thermometer.
Again, your turkey is done when it reaches an internal temperature of 165 F. Remove from oven and let stand for about 15-20 minutes before carving.

Enjoy your incredibly moist and delicious turkey.
The Hillbilly Housewife Thanksgiving Planner
Don’t run around like a chicken (or should that be turkey?) with its head cut off on Thanksgiving morning. The Hillbilly Housewife’s Thanksgiving Planner will help you plan ahead and stay on top of things so you can actually enjoy Thanksgiving with your family & friends.
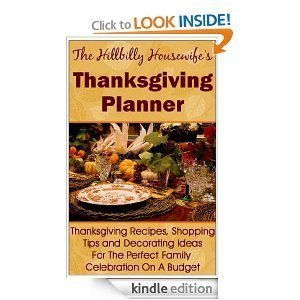 If you take a quick minute to read the first chapter you’ll realize how easy your Thanksgiving celebration will be. There are plenty of tips and ideas to make sure this year’s feast doesn’t stretch your budget to the breaking point, too.
There are also 2 bonuses tucked inside: A printable planner & checklist and all of the recipes in a printable pdf file.
http://www.hillbillyhousewife.com/thanksgiving
To support the blog, check out the HBHW eBooks available on Amazon. Thank you!
Disclosure: Some of the links below are affilate links, meaning, at no additional cost to you, I will earn a commission if you click through and make a purchase.
